Poedit を Windows 7 にインストールする方法。
Poedit とは、クロスプラットフォームで動作する gettext カタログ(poファイル)エディタ。gettext とは、多言語対応のソフトウェアを開発する際に用いられる、国際化ライブラリ。
WordPress も gettext によって多言語化している。
ダウンロード
入手ページ:Poedit: Download
2010/11/05 現在のバージョン:Poedit 1.4.6
Windows 7 にインストールするので、Windows version の「poedit-1.4.6-setup.exe」をダウンロード。
インストール
ダウンロードした「poedit-1.4.6-setup.exe」をダブルクリックすると、下のようなウィザードが現れる。
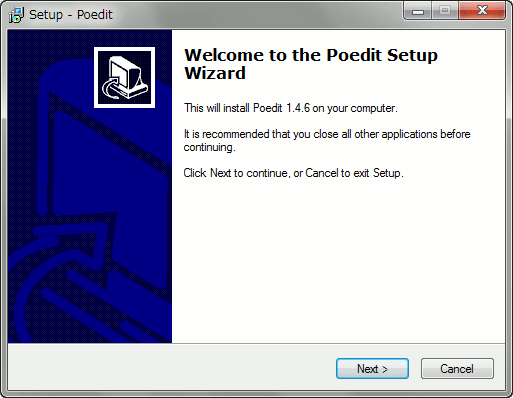
「 Next > 」をクリック。
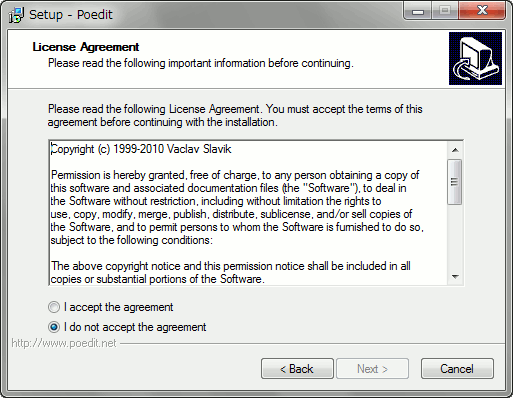
「 I accept the agreement 」のチェックボックスにチェックを入れ、「 Next > 」をクリック。
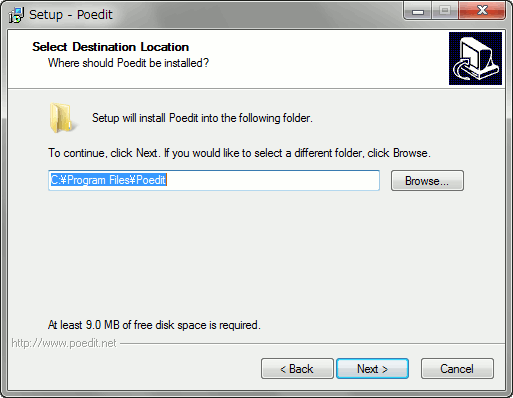
インストール先を指定し、「 Next > 」をクリック。
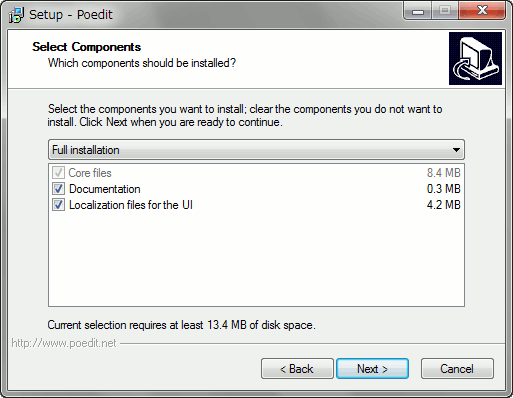
「 Next > 」をクリック。
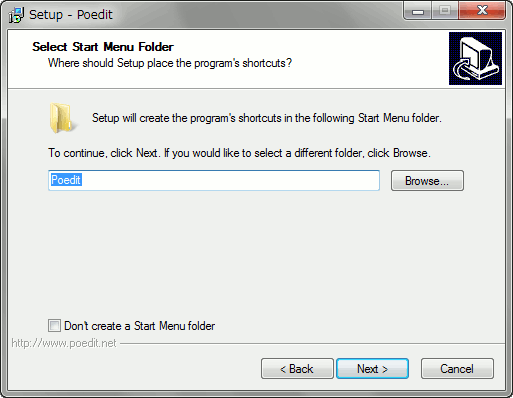
スタートメニューに登録する場合は、フォルダを指定。スタートメニューに登録しない場合は、「Don’t create a Start Menu folder 」のチェックボックスにチェックを入れる。
「 Next > 」をクリック。
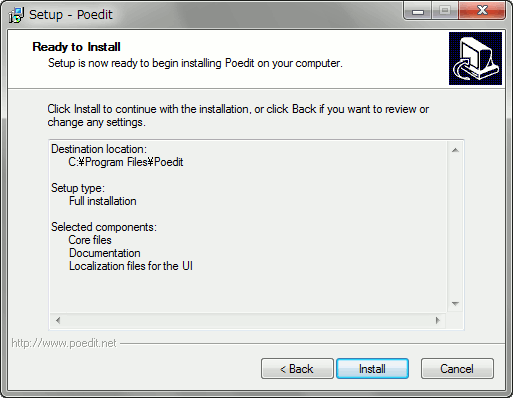
「 install 」をクリック。
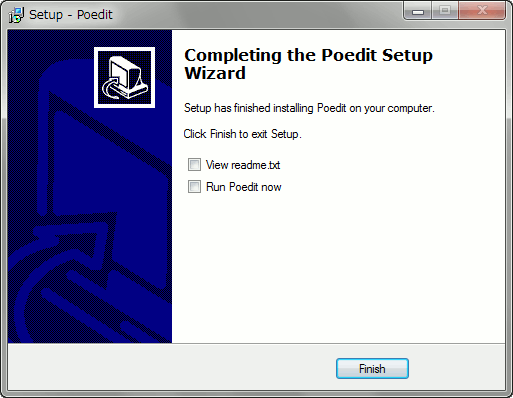
readme.txtを読む場合は、「 View readme.txt 」にチェックを入れる。
Poedit をすぐに起動したい場合は、「 Run Poedit now 」にチェックを入れる。
「 Finish 」をクリックし、インストール完了。
初回起動
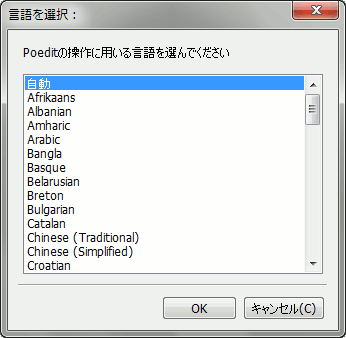
言語を選択するウィザードが出てくるので、「 Japanese 」を選択し、「 OK 」をクリック。
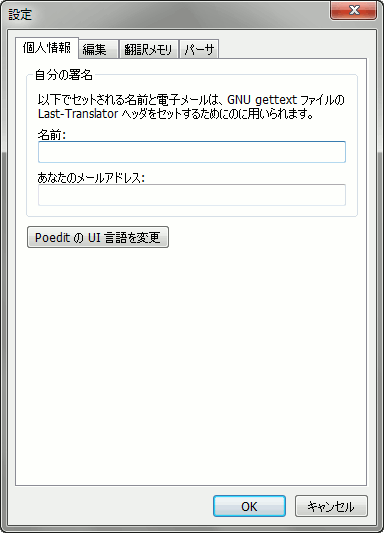
後からも設定できるので、「 OK 」をクリック。