写真の縁をぼかす方法。
すべて選択
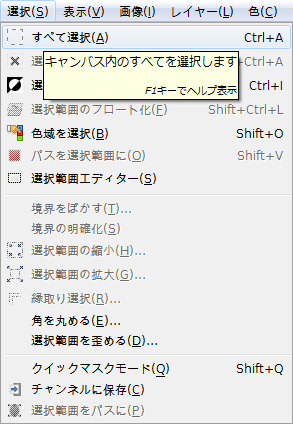
選択⇒すべて選択で、写真全体を選択する。
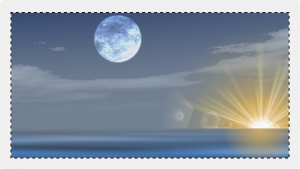
右の画像は、全体を選択した状態の作業画面。
選択範囲の縮小
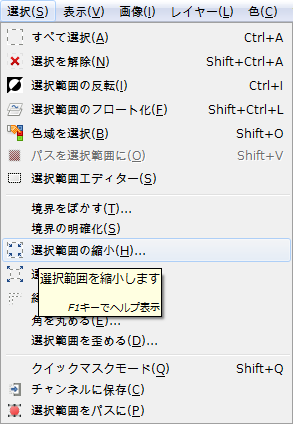
選択⇒選択範囲の縮小で、「選択範囲の縮小」ダイアログを呼び出す。
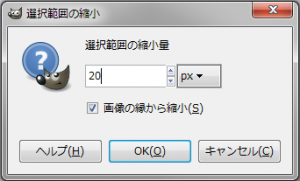
今回は分かりが良いように、「選択範囲の縮小量」を「20px」に設定し縮小。

右の画像は、選択範囲を縮小した状態の作業画面。
選択範囲をぼかす
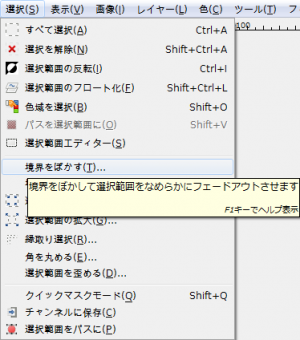
選択⇒選択範囲をぼかすで、「選択範囲の境界をぼかす」ダイアログを呼び出す。
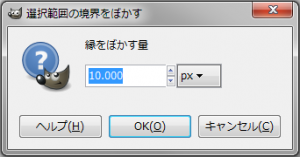
今回は分かりが良いように、「縁をぼかす量」を「10px」に設定し適用。

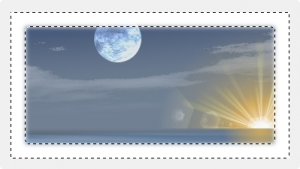
右の画像は、選択範囲をぼかした状態の作業画面。
選択範囲の反転
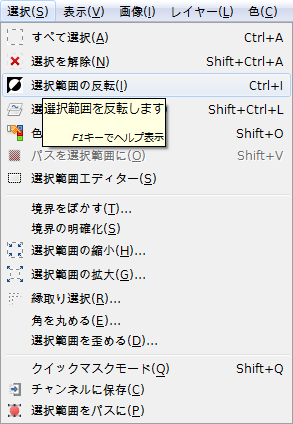
選択⇒選択範囲の反転で、選択範囲を反転する。
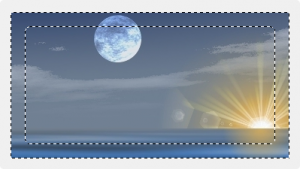
右の画像は、選択範囲を反転した状態の作業画面。
切り取り
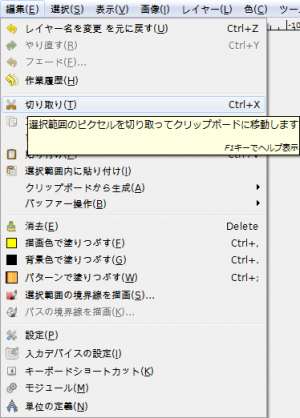
編集⇒切り取りで、選択範囲を切り取る。
右の画像は、選択範囲を切り取った状態の作業画面。
アルファチャンネルを持たないレイヤーだったので、背景色である「白」が現れる。
アルファチャンネルの追加
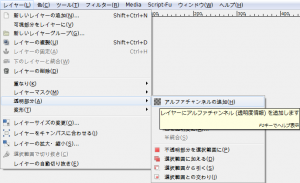
切り取った部分を透明にしたい場合は、切り取る前に、レイヤー⇒透明部分⇒アルファチャンネルの追加で、アルファチャンネルを追加しておく。
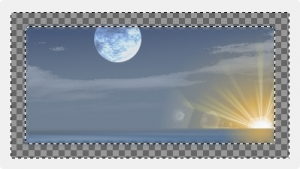
アルファチャンネルがある状態で、切り取ると、右の作業画面画像のように透明になる。
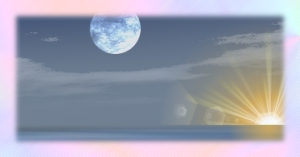
背景レイヤーでも追加すると、写真の境界がぼやけているのがよくわかる。