「キャンバス地」を使い、キャンバス地の壁紙を簡単に描く方法。
新しい画像を作成
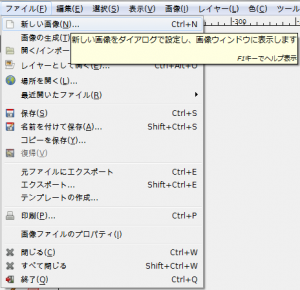
「ファイル⇒新しい画像」で、「新しい画像を作成」ダイアログを開く。
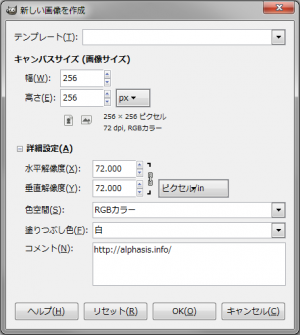
「高さ:256px」、「幅:256px」、「塗りつぶし色:白」の画像を新規作成。
キャンバス地
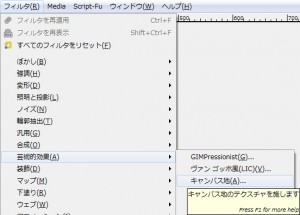
「フィルタ⇒芸術的効果⇒キャンバス地」で、「キャンバス地」ダイアログを開く。
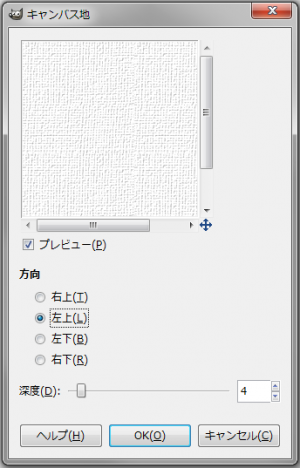
下記の設定で適用。
- 方向:左上
- 深度:4
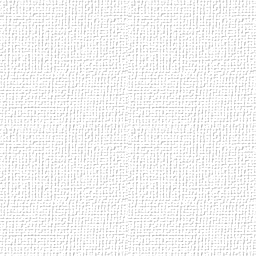
右の画像のようになる。
シームレス化
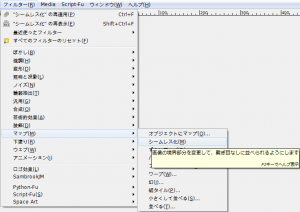
「フィルタ⇒マップ⇒シームレス化」で、シームレス化しておけば、並べても繋ぎ目のわからないシームレスなタイル画像になる。

右の画像のようになれば完成。
使用例

ヘッダーの背景に使用。