「キャンバス境界にスナップ」「新規ガイド(パーセントで)」「ブレンドツール」などを使い、メニューやボタンの背景にありがちな、グラデーション背景を簡単に描く方法。
新しい画像を作成
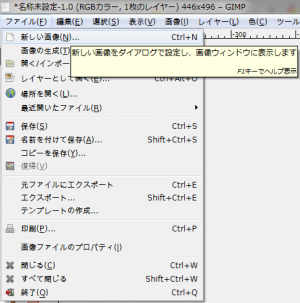
「ファイル⇒新しい画像」で、「新しい画像を作成」ダイアログを開く。
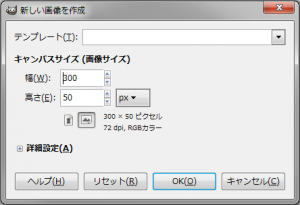
「高さ:300px」、「幅:50px」の画像を新規作成。
赤く塗りつぶす
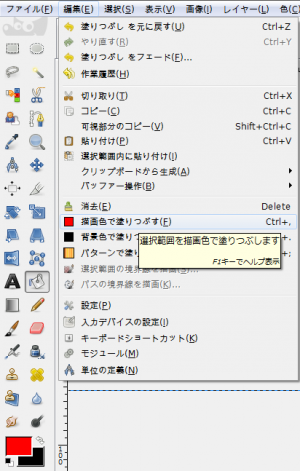
「描画色」を「赤」に設定し、「フィルタ⇒編集⇒描画色で塗りつぶす」で、赤く塗りつぶす。

右の画像のようになる。
キャンバス境界にスナップ
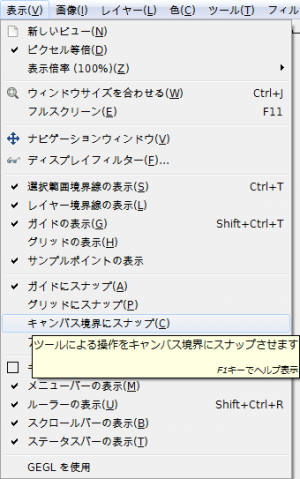
「表示⇒キャンバス境界にスナップ」をクリックし、チェックを付け、「キャンバス境界にスナップ」を有効にする。
ガイド
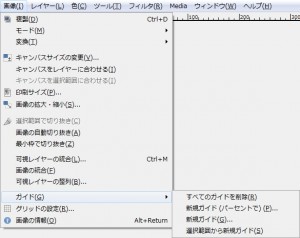
「画像⇒ガイド⇒新規ガイド(パーセントで)」をクリックし、「Script-Fu: 新規ガイド(パーセントで)」ダイアログを呼び出す。
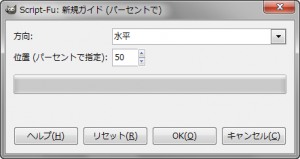
「方向:水平」「位置(パーセントで指定):50」で適用。
新しいレイヤーを追加
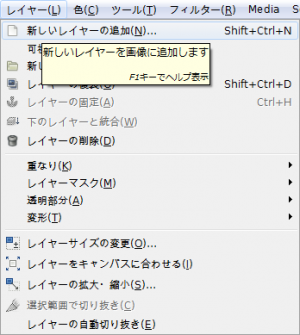
「レイヤー⇒新しいレイヤーの追加」で、「新しいレイヤー」ダイアログを開く。
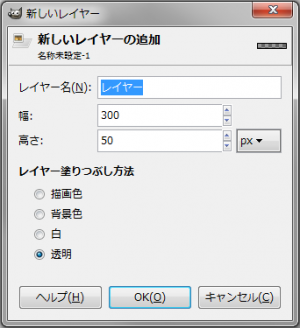
「高さ:300px」、「幅:50px」、「レイヤー塗りつぶし方法:透明」の新しいレイヤーを追加。
ブレンドツール
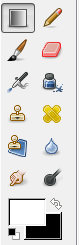
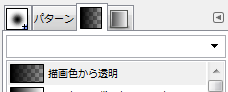
「描画色」を「白」に設定し、ブレンドツールを呼び出す。
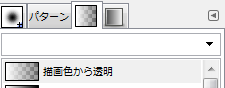
「描画色から透明」を選択し、コントロール・キー「Ctrl」を押しながら、画像の上端から中央の水平線に向かって真っ直ぐに、ドラッグ&ドロップし、グラデーションに塗る。

右の画像のようになる。
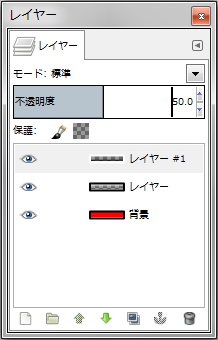
不透明度
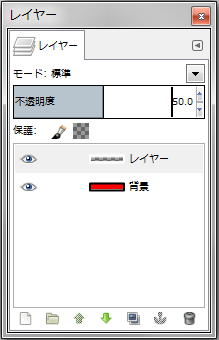
レイヤーの不透明度を「50.0」程にする。

右の画像のようになる。
新しいレイヤーを追加
「レイヤー⇒新しいレイヤーの追加」で、「新しいレイヤー」ダイアログを開く。
「高さ:300px」、「幅:50px」、「レイヤー塗りつぶし方法:透明」の新しいレイヤーを追加。
ブレンドツール
「描画色」を「黒」に設定し、ブレンドツールを呼び出す。
「描画色から透明」を選択し、コントロール・キー「Ctrl」を押しながら、画像の上端から中央の水平線に向かって真っ直ぐに、ドラッグ&ドロップし、グラデーションに塗る。

右の画像のようになる。
不透明度
レイヤーの不透明度を「50.0」程にする。

右の画像のようになれば完成。
使用例

ボタンの背景に使用。