GIMPの「色」メニュー内の「色相-彩度」は、「色相-彩度」ダイアログを呼び出し、アクティブレイヤーの選択範囲内の、色相、輝度、彩度を、変更できる。選択範囲がないときは、アクティブレイヤー全体の、色相、輝度、彩度を、変更する。
色相-彩度
![GIMP: 色 ⇒ 色相-彩度 gimp-colors-hue-saturation.png](http://alphasis.info/wp-content/uploads/2012/09/gimp-colors-hue-saturation.png)
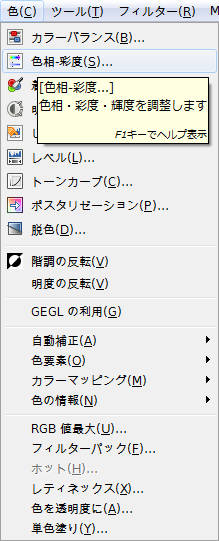
GIMPの「色」メニュー内に、「色相-彩度」はある。
「色⇒色相-彩度」をクリックすると、「色相-彩度」ダイアログが現れる。
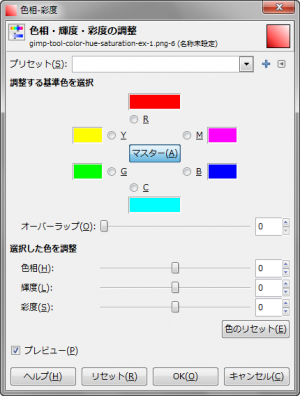
「色相-彩度」ダイアログは、「ツール⇒色ツール⇒色相-彩度」でも呼び出せる。
「色相-彩度」ダイアログ
![GIMP: 「色相-彩度」ダイアログ gimp-colors-hue-saturation-dialog.png](http://alphasis.info/wp-content/uploads/2012/09/gimp-colors-hue-saturation-dialog-300x396.png)
- プリセット
「色相-彩度」ダイアログの設定を保存した、プリセットデータがある場合、プルダウンメニューから選択し、呼び出せる。
「+」ボタンをクリックすると、「設定をプリセットに追加」ダイアログが現れる。プリセット名を指定し、「色相-彩度」ダイアログの設定内容を保存できる。
- 調整する基準色を選択
変更したい色を、RGB(赤・緑・青)の三原色と、その補色であるCMY(シアン・マゼンタ・イエロー)の6色から選択する。
「マスター」ボタンをクリックと、全ての色に作用するようになる。
- オーバーラップ
各色の範囲の重なり具合を設定。
- 選択した色を調整
RGB(赤・緑・青)の三原色と、その補色であるCMY(シアン・マゼンタ・イエロー)との、スライダーで調整。
- 色相
色相を、「-180~180」の範囲で指定。
- 輝度
輝度を、「-100~100」の範囲で指定。
- 彩度
彩度を、「-100~100」の範囲で指定。
- 色のリセット
各スライダーを、中央の「0」に戻す。
- プレビュー
プレビューを有効にしておくと、効果を確認しながら設定できる。
「色相-彩度」使用例-1

![GIMP: 「色相-彩度」使用例-1 gimp-colors-hue-saturation-ex-1.png](http://alphasis.info/wp-content/uploads/2012/09/gimp-colors-hue-saturation-ex-1.png)
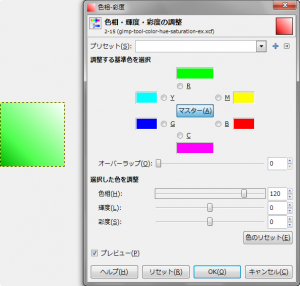
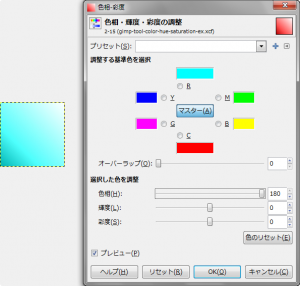
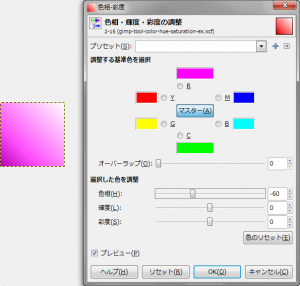
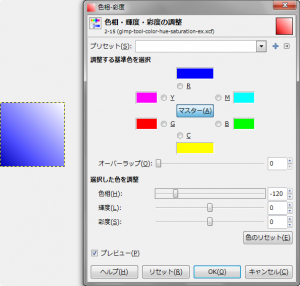
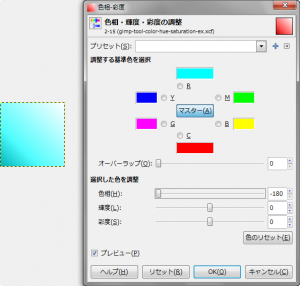
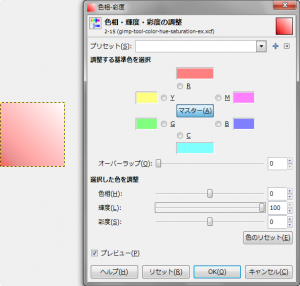
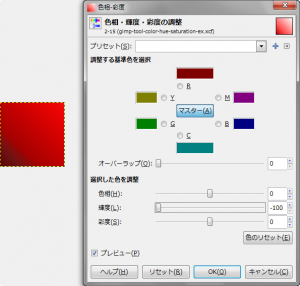
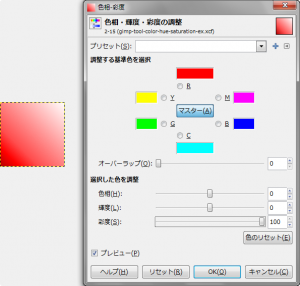
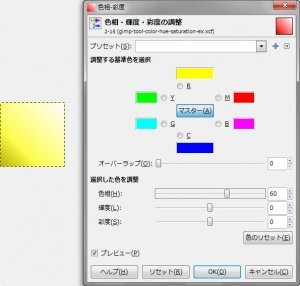
赤のグラデーションの画像に、「色⇒色相-彩度」で、「色相-彩度」ダイアログを呼び出し、各設定で使用すると…
![GIMP: 「色相-彩度」使用例-1-1-1 gimp-colors-hue-saturation-ex-1-1-1.png](http://alphasis.info/wp-content/uploads/2012/09/gimp-colors-hue-saturation-ex-1-1-1-300x286.png)
- マスター
- 色相: 60
![GIMP: 「色相-彩度」使用例-1-1-2 gimp-colors-hue-saturation-ex-1-1-2.png](http://alphasis.info/wp-content/uploads/2012/09/gimp-colors-hue-saturation-ex-1-1-2-300x286.png)
- マスター
- 色相: 120
![GIMP: 「色相-彩度」使用例-1-1-3 gimp-colors-hue-saturation-ex-1-1-3.png](http://alphasis.info/wp-content/uploads/2012/09/gimp-colors-hue-saturation-ex-1-1-3-300x286.png)
- マスター
- 色相: 180
![GIMP: 「色相-彩度」使用例-1-1-4 gimp-colors-hue-saturation-ex-1-1-4.png](http://alphasis.info/wp-content/uploads/2012/09/gimp-colors-hue-saturation-ex-1-1-4-300x286.png)
- マスター
- 色相: -60
![GIMP: 「色相-彩度」使用例-1-1-5 gimp-colors-hue-saturation-ex-1-1-5.png](http://alphasis.info/wp-content/uploads/2012/09/gimp-colors-hue-saturation-ex-1-1-5-300x286.png)
- マスター
- 色相: -120
![GIMP: 「色相-彩度」使用例-1-1-6 gimp-colors-hue-saturation-ex-1-1-6.png](http://alphasis.info/wp-content/uploads/2012/09/gimp-colors-hue-saturation-ex-1-1-6-300x286.png)
- マスター
- 色相: -180
![GIMP: 「色相-彩度」使用例-1-2-1 gimp-colors-hue-saturation-ex-1-2-1.png](http://alphasis.info/wp-content/uploads/2012/09/gimp-colors-hue-saturation-ex-1-2-1-300x286.png)
- マスター
- 輝度: 100
![GIMP: 「色相-彩度」使用例-1-2-2 gimp-colors-hue-saturation-ex-1-2-2.png](http://alphasis.info/wp-content/uploads/2012/09/gimp-colors-hue-saturation-ex-1-2-2-300x286.png)
- マスター
- 輝度: -100
![GIMP: 「色相-彩度」使用例-1-3-1 gimp-colors-hue-saturation-ex-1-3-1.png](http://alphasis.info/wp-content/uploads/2012/09/gimp-colors-hue-saturation-ex-1-3-1-300x286.png)
- マスター
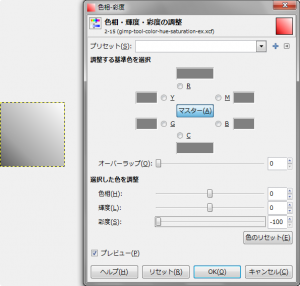
- 彩度: 100
![GIMP: 「色相-彩度」使用例-1-3-2 gimp-colors-hue-saturation-ex-1-3-2.png](http://alphasis.info/wp-content/uploads/2012/09/gimp-colors-hue-saturation-ex-1-3-2-300x286.png)
- マスター
- 彩度: -100
「色相-彩度」使用例-2
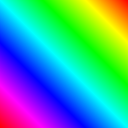
![GIMP: 「色相-彩度」使用例-2 gimp-colors-hue-saturation-ex-2.png](http://alphasis.info/wp-content/uploads/2012/09/gimp-colors-hue-saturation-ex-2.png)
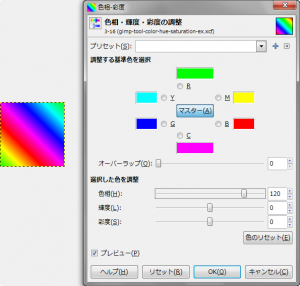
「Full saturation spectrum CW」のグラデーションの画像に、「色⇒色相-彩度」で、「色相-彩度」ダイアログを呼び出し、各設定で使用すると…
![GIMP: 「色相-彩度」使用例-2-1 gimp-colors-hue-saturation-ex-2-1.png](http://alphasis.info/wp-content/uploads/2012/09/gimp-colors-hue-saturation-ex-2-1-300x286.png)
- マスター
- 色相: 120
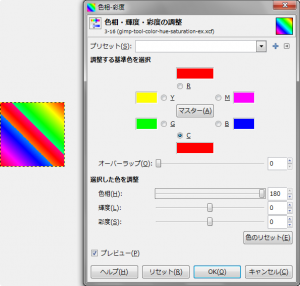
![GIMP: 「色相-彩度」使用例-2-2 gimp-colors-hue-saturation-ex-2-2.png](http://alphasis.info/wp-content/uploads/2012/09/gimp-colors-hue-saturation-ex-2-2-300x286.png)
- C
- 色相: 180
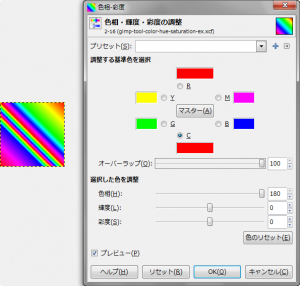
![GIMP: 「色相-彩度」使用例-2-3 gimp-colors-hue-saturation-ex-2-3.png](http://alphasis.info/wp-content/uploads/2012/09/gimp-colors-hue-saturation-ex-2-3-300x286.png)
- C
- 色相: 180
- オーバーラップ: 100